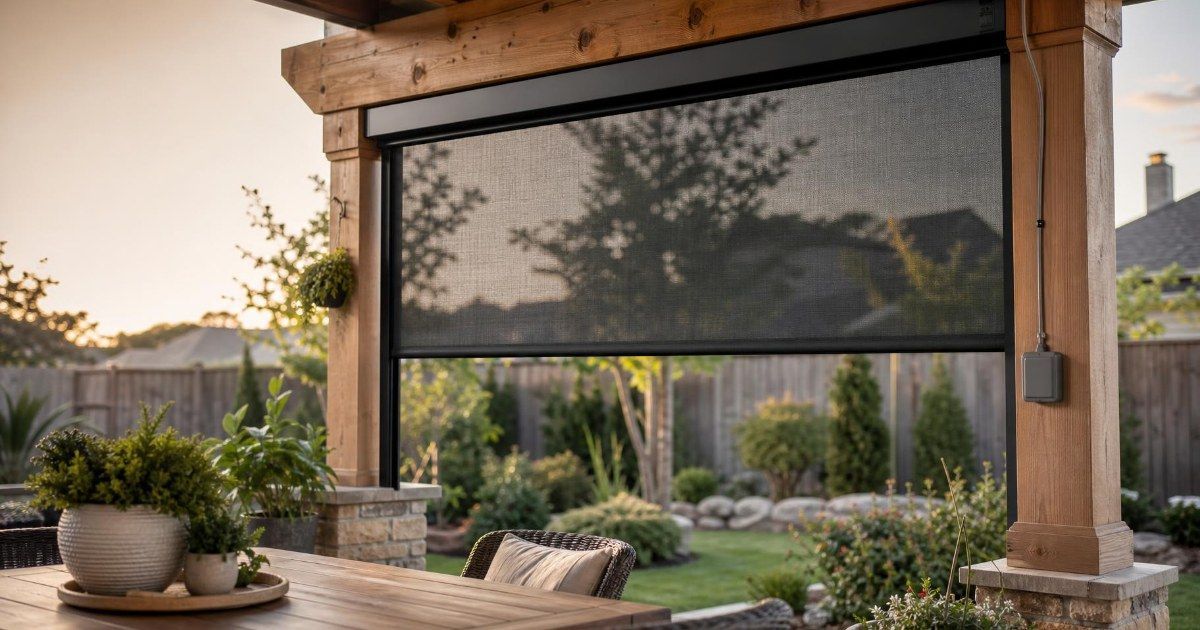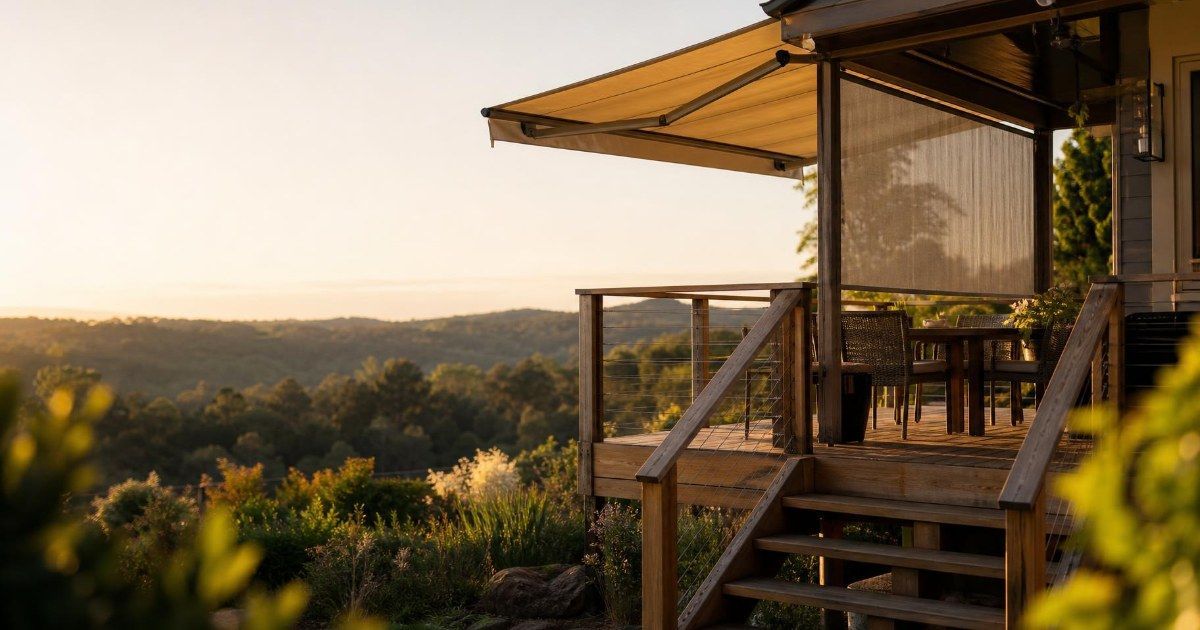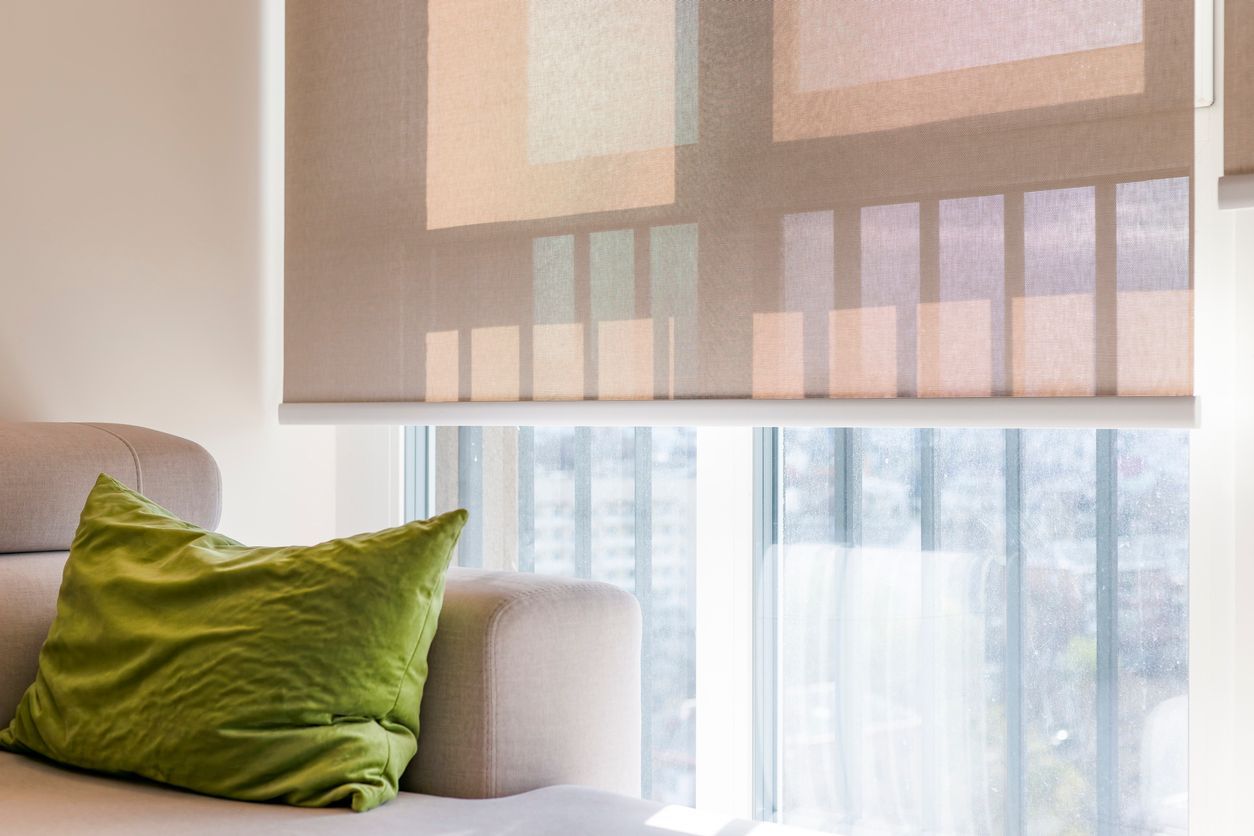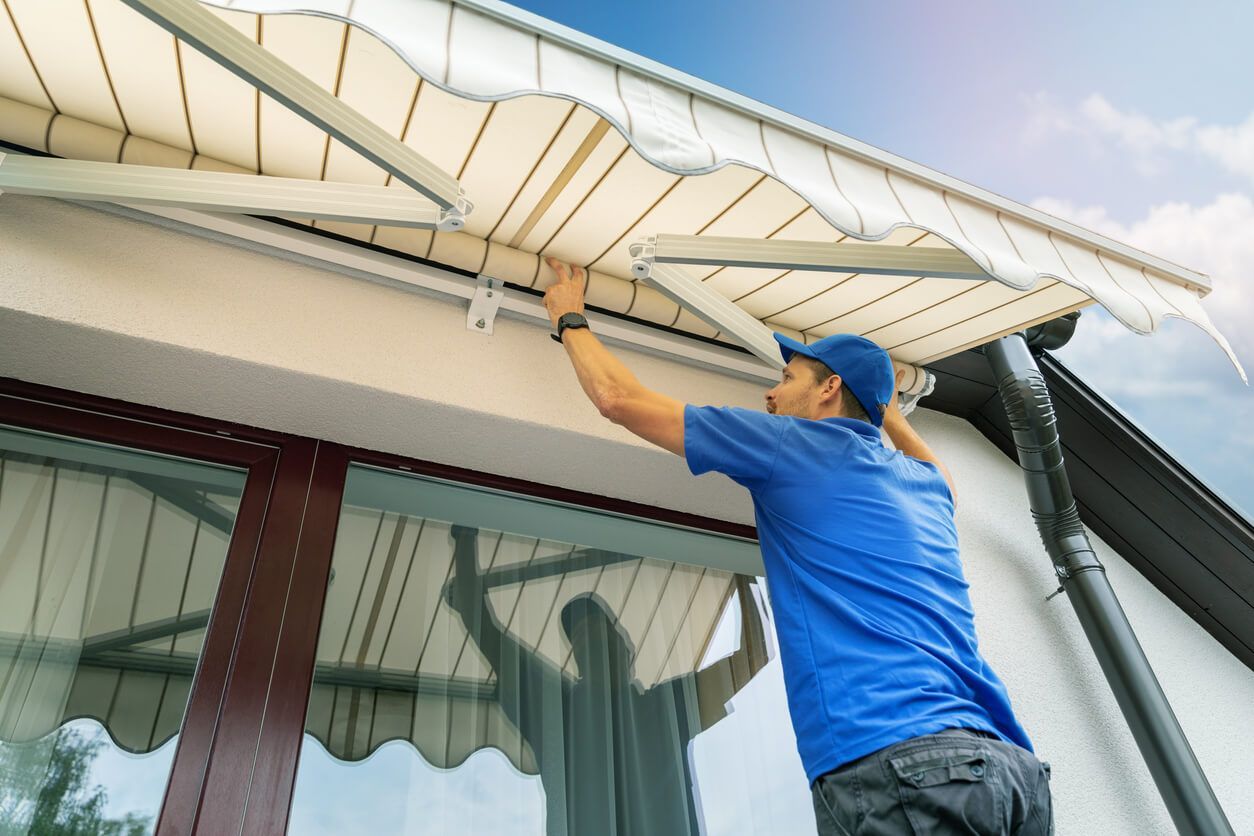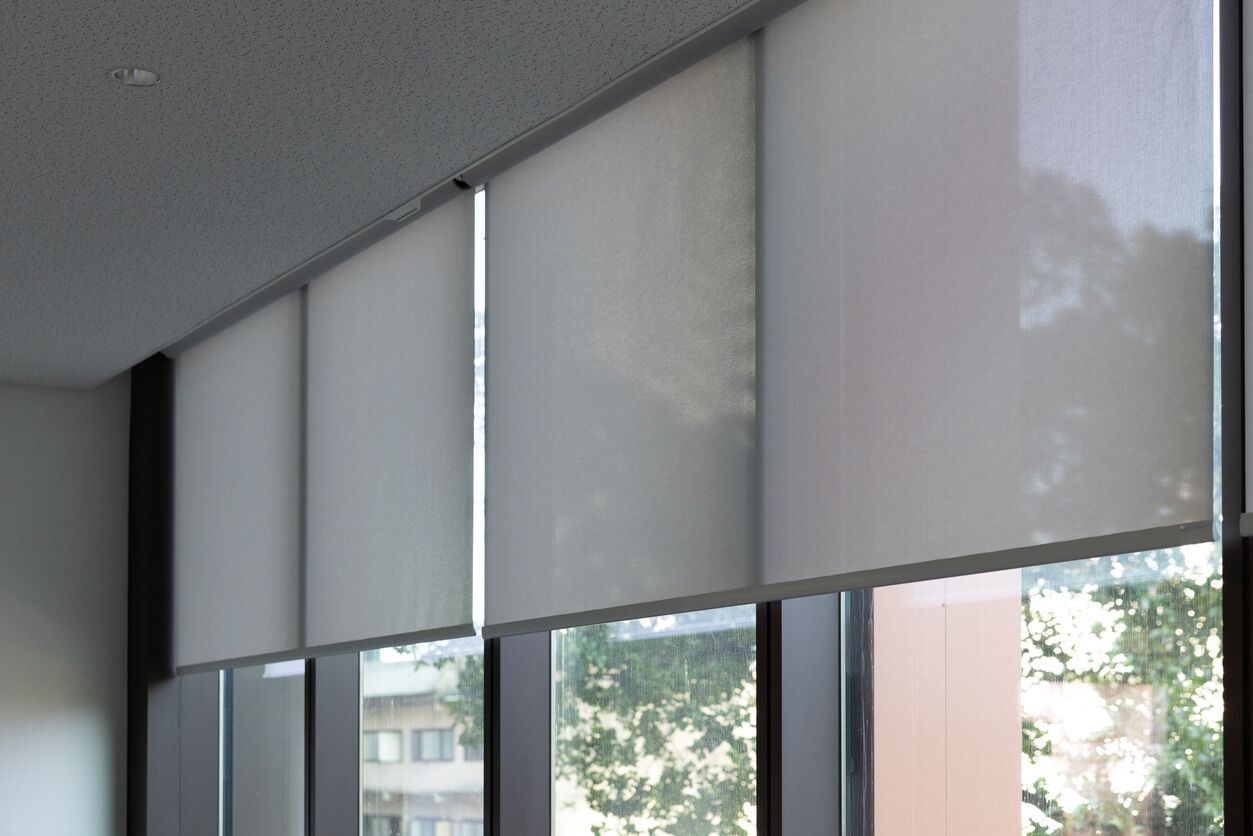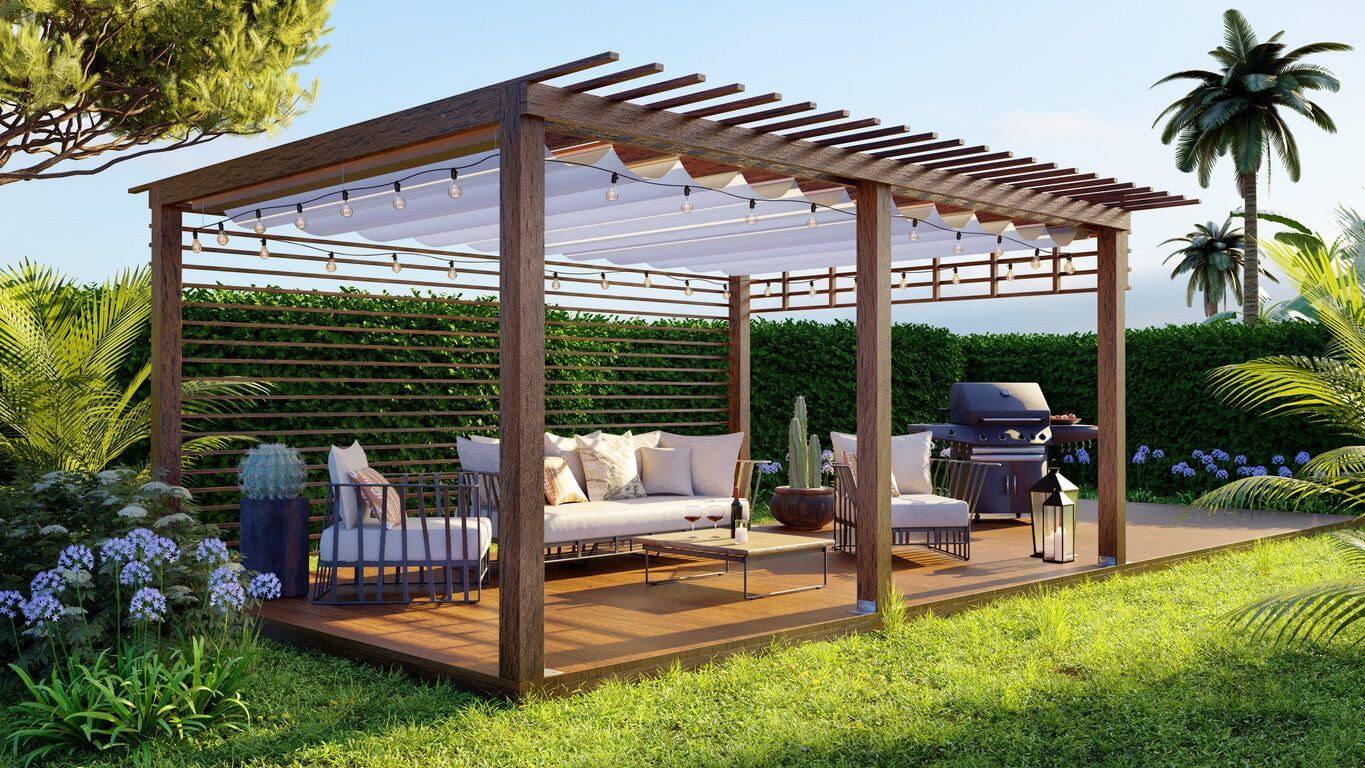
How Custom Outdoor Shades Are Measured and Designed

June 4, 2026

If you have ever looked at a neighbor’s patio and thought, why does their shade look built-in while mine looks like an afterthought? the answer usually comes down to one thing: customization.


Custom outdoor shades are not just larger versions of something you buy off a shelf. They are measured around the way your home actually sits, how the sun hits your patio, where the wind whips through, whether your concrete slopes, and even how your doors swing. A well-designed shade system should feel less like an accessory and more like the missing piece of the outdoor space.


That is exactly why the process matters. For homeowners in Texas and across the South, where heat, glare, humidity, and sudden weather shifts can turn a patio from relaxing to punishing in a matter of hours, custom outdoor shades need to do more than just look good. They need to work.


In this guide, we’ll break down how custom outdoor shades are measured and designed, what professionals look for during a consultation, and why accurate sizing and thoughtful planning make all the difference in performance, durability, and comfort.


Why Custom Outdoor Shades Start With More Than Just Width and Height


A lot of homeowners assume measuring for outdoor shades is simple: grab a tape measure, note the opening, and order something close. That logic works for a picture frame. It does not work for a motorized patio shade system.


Outdoor living spaces are rarely perfectly square. Posts shift slightly. Brick columns flare. Header heights vary. Concrete slopes for drainage. Some patios have recessed beams or irregular trim details that change where a shade can actually mount. Even two openings that look identical from ten feet away can be off by enough to affect operation.


That is why custom outdoor shades begin with a site-specific evaluation, not just dimensions on paper. The goal is to understand the structure as a whole. A shade installer is not merely asking, “How big is the opening?” They are asking, “What is this system attaching to, what is it expected to block, and how will it behave in real weather?”


This matters even more for motorized shades. A system that is too tight may bind. A system that is too loose can leave gaps, flap in the wind, or look unfinished. Precision is what separates a polished installation from something that always feels slightly off.


The First Step: On-Site Consultation and Evaluation


Every strong custom shade project starts with a consultation. This is where a designer or shade specialist studies the space, listens to how you use it, and begins translating your wish list into something buildable.


Maybe you want to block harsh western sun that turns dinner on the patio into a squinting contest. Maybe you need privacy from a nearby neighbor’s second-story window. Maybe your biggest issue is not the light at all, but the heat trapped under a covered patio in the middle of a Houston summer. Different problems call for different design choices.


During this phase, the team typically evaluates the opening size, mounting surface, structural support, sun exposure, wind conditions, and existing architectural details. They may also look at obstacles like lighting, fans, speakers, downspouts, door hardware, or uneven masonry that could interfere with installation.


This is also the time to talk about how the space functions. A family that wants bug protection during evening cookouts may need a different fabric openness than a homeowner focused on preserving a panoramic backyard view. Someone shading a poolside lounge area may prioritize glare reduction and UV protection, while another homeowner may be trying to protect indoor flooring and furniture from sun damage coming through large patio doors.


The best custom outdoor shade design starts by solving the right problem.


How Professionals Measure Outdoor Shade Openings


Once the consultation is underway, the technical measuring begins. This is where experience really shows.


Professionals usually take multiple measurements across the width and height of the opening rather than relying on a single number. Why? Because openings lie. What appears straight can be out of level or out of square by more than you would think. Measuring at the top, middle, and bottom helps reveal variations that affect how the shade will fit.


Installers also check whether the mounting area is level and whether the side surfaces are plumb. If a patio slab slopes, that can influence the bottom edge alignment and the way the fabric hangs. Shade Doctor even notes that sloped concrete can be accommodated by cutting fabric to the bias or slope of the patio. That kind of adjustment is exactly why custom work exists.


Another key detail is determining the mounting method. Will the shade be face-mounted to an exterior beam? Ceiling-mounted beneath a covered patio? Recessed into an opening for a cleaner look? Each option changes the measurement logic slightly because the hardware dimensions, clearances, and drop path all have to be considered.


Then there are operational details. If the opening includes a door, latch, arch, or unusual trim profile, the design may need to account for that. Some companies avoid these complications. Custom shade specialists lean into them. A door integrated into a motorized shade system, for example, requires careful planning so the system remains functional without feeling clunky or improvised.


Structural Conditions That Affect the Design


Not every patio is automatically ready for a shade system, at least not without a little planning. One of the most important parts of the design process is evaluating the structure itself.


Outdoor shades need secure mounting points. That means the installer must identify whether the system is attaching to wood framing, steel, masonry, concrete, or an aluminum patio cover. Each material behaves differently and may require different fasteners, reinforcement, or bracket configurations.


This is especially important for large-span custom outdoor shades. Shade Doctor notes they can accommodate shades up to 30 feet wide and 20 feet tall. At those dimensions, a system is not just decorative. It becomes a serious architectural component. The hardware, motor, and fabric all need support from a structure capable of handling weight and movement.


Wind exposure also influences design. A patio opening facing open water, a wide backyard, or a corridor between houses may experience stronger gusts than a more sheltered area. In those cases, the installer may recommend a specific track system, screen retention method, or fabric type to improve stability.


Think of it like tailoring a suit for someone who rides a motorcycle every day. The measurements matter, sure, but so does the life the suit has to survive.


Choosing the Right Fabric and Openness Factor


One of the most overlooked parts of designing custom outdoor shades is fabric selection. Homeowners often focus on color first, but performance matters just as much.


The openness factor of the fabric affects visibility, privacy, airflow, and UV protection. A more open weave preserves your view and allows more natural light through, but it also offers less privacy and slightly less sun blockage. A tighter weave increases privacy and solar protection, but can make the space feel more enclosed.


This is not a right-versus-wrong decision. It is a use-case decision. If your patio backs up to a scenic pool or wooded lot, you may want to preserve that visual connection. If your patio faces a neighboring fence line or street, privacy may matter more. If your main goal is reducing heat and glare during peak afternoon sun, the recommended fabric may be different than if you are mostly trying to soften morning light.


Color plays a role too. Darker fabrics often preserve outward visibility better during the day, while lighter fabrics can brighten the space and complement certain exterior styles. The design team typically helps balance aesthetics with function so the finished system looks intentional rather than purely utilitarian.


A custom outdoor shade should not make your patio feel like a cave. It should make it feel usable.


Designing Around Sun Angles, Weather, and Daily Use


A shade system that looks great at noon in a brochure may be useless at 5:30 p.m. on your actual patio. That is why real design work considers orientation and use patterns.


West-facing patios often need the most aggressive solar control because the late-day sun comes in low and hot. East-facing spaces may need help with morning glare. South-facing patios can take on heavy sun exposure for much of the day, depending on roof cover and seasonal angle shifts. A custom design accounts for how sunlight moves, not just where the opening sits.


Weather matters too. In places like Houston, Katy, and other Gulf-adjacent markets, humidity, rain, and wind are part of the equation. Some homeowners want shades that can help reduce light rain intrusion along with sun and bugs. As Shade Doctor notes, rain protection depends heavily on fabric selection, so that conversation should happen early in the design process.


Then there is the human side of it. Do you want one large motorized shade that closes at the push of a button, or multiple zones so you can control different areas independently? Do you entertain often? Do you have pets that lounge outside in the afternoon? Are you trying to make the patio comfortable enough to use year-round?


The best custom designs work with the rhythm of your life. They are not just measured to fit the opening; they are designed to fit the way you live.


Motorization, Controls, and Smart Integration


For many homeowners, the move to custom outdoor shades is really about convenience as much as comfort. Motorization changes the experience completely.


Instead of wrestling with manual shades or leaving a fixed solution in place all season, motorized outdoor shades let you respond to weather and sunlight in seconds. Bright glare during lunch? Lower the shade. Hosting friends in the evening? Adjust the screens without rearranging furniture or breaking the mood.


During the design phase, installers consider power access, motor placement, control preferences, and overall system layout. Some homeowners prefer a simple wall switch. Others want remote control operation or smart home integration. The right setup depends on how often the shades will be used and who will be using them.


Motor and control selection also affects long-term reliability. This is not an area where quality should be an afterthought. Shade Doctor’s warranty structure reflects that, with long-term coverage for hardware, fabric, mesh, and motor controls. That kind of backing matters because outdoor systems live a harder life than most indoor products ever will.


A well-designed motorized shade should feel effortless. Quiet, smooth, dependable. Like pressing one button and watching the patio finally become the room you thought you were building all along.


Why Professional Installation Is Part of the Design


Design does not end when the measurements are written down. Installation is where all the planning either pays off or falls apart.

Professional installers do more than attach brackets and roll fabric into place. They verify field measurements, confirm mounting conditions, fine-tune alignments, test motor operation, and make sure the system moves cleanly through its full range. On custom jobs, small adjustments on-site are often what create that finished, seamless appearance.


This is particularly important for larger openings, sloped patios, arched areas, or integrated door systems. Those projects require hands that know what they are doing. A custom outdoor shade can be beautifully designed on paper and still fail if the installation is rushed or improvised.


That is why experienced companies emphasize craftsmanship, quick installation, and customer service together. Speed matters, but not at the expense of fit and finish. The goal is not simply to get the shade up. The goal is to make it look like it belonged there from the start.


What Homeowners Should Expect From the Process


If you are considering custom outdoor shades, expect a process that is more collaborative than transactional. A reputable company will not just quote a number from a rough opening size and disappear. They will ask questions, assess the structure, explain options, and recommend a system based on your actual needs.


In most cases, the process includes consultation, measurement, custom design proposal, fabrication, installation, and final walkthrough. That sequence matters because each step builds on the one before it. Skipping straight to product selection without understanding the space is how homeowners end up disappointed.


The upside is that a properly designed custom shade system solves multiple problems at once. It can reduce heat, cut glare, improve privacy, expand usable living space, and elevate the look of the patio. It can also help protect furnishings and interior finishes from UV exposure while making the backyard feel more polished and intentional.


In other words, it is not just about adding shade. It is about making outdoor living actually livable.


Final Thoughts on Custom Outdoor Shades


Custom outdoor shades are measured and designed with far more care than most homeowners realize, and that is a good thing. The details are what make the system perform.


From structural evaluation and precise field measurements to fabric selection, sun-angle planning, and motorized control design, every part of the process shapes the final result. When done right, the shade does not feel like an add-on. It feels like the patio finally makes sense.


For homeowners in Texas and beyond, where outdoor spaces are meant to be used, not just admired through a window, that kind of customization is worth it. Because the difference between a patio you avoid and a patio you use every week often comes down to one smart decision: designing the shade system around the space instead of forcing the space to adapt to a generic shade.


If you are ready to turn your patio into a cooler, more comfortable retreat, custom outdoor shades are where good outdoor living starts.
Design a Custom Pergola
July 8, 2026
Find out how to design a pergola for shade, from sun direction and beam spacing to fabric, vines, and layout choices.
Best Fabric for Retractable Awnings
July 7, 2026
Find out how to choose the best fabric for retractable awnings by looking at climate, color retention, mildew resistance, and fabric weight.
Low-Angle Sun Protection
July 7, 2026
Discover how sun shade solutions help manage heat, glare, and UV exposure in outdoor areas while supporting comfort and privacy.
Custom Aluminum Pergola
July 6, 2026
See how a custom aluminum pergola works with outdoor layouts, shaping shaded seating, dining, or garden areas with a precise fit.
Flush-mounted motorized screen
July 1, 2026
Find details on flush mount patio shades for covered patios, including mounting style, fabric options, light control, and maintenance basics.
Commercial Shade Solutions
June 10, 2026
Learn how commercial shade solutions support outdoor comfort, sun protection, and functional spaces for businesses, schools, and public areas.
Poolside Pergola for Outdoor Shade
June 9, 2026
Explore how pergolas for pools add shade, define lounging areas, and blend with outdoor designs for a more comfortable poolside space.
pergola installation cost
June 8, 2026
A pergola can completely change the way a backyard feels. What starts as a bright, underused slab of concrete or an open patch of patio can become a defined outdoor living space with structure, comfort, and real purpose. It gives a seating area a ceiling without fully closing it in. It creates shade where there was none. And when it is designed well, it makes the whole property feel more finished. That said, one of the first questions homeowners ask is simple: what is the real pergola installation cost? The honest answer is that pergola cost can vary widely depending on size, materials, site conditions, and whether you choose a basic pergola kit or a fully custom installation. A small standard pergola built from budget-friendly materials will land in a very different price range than a large motorized system with lighting, electrical wiring, and premium finishes. In this guide, we will break down average cost ranges, labor costs, material costs, design factors, and the upgrades that push pricing higher. If you are planning to build a pergola in Texas or another hot, sun-heavy market, understanding these details upfront can help you make a smart investment and avoid surprises. Average Pergola Cost at a Glance For most homeowners, pergola cost falls somewhere between $3,000 and $15,000, though custom builds can go well beyond that. A basic pergola kit installed over a small patio may sit near the lower end, while larger pergolas with premium materials and integrated features can reach $20,000 or more. A useful way to think about pricing is per square foot. Many pergola installation estimates land between $20 and $60 per square foot for simpler systems. Higher-end custom pergolas, especially those with aluminum framing, retractable canopies, louvers, or built-in lighting, can climb to $75 to $150 per square foot or more. The total cost depends on what you are building, where it is going, and how much customization is involved. What Most Homeowners Spend on Pergola Installation Most homeowners are not buying the cheapest option on paper. They are trying to solve a real comfort problem in the backyard: too much sun, not enough shade, or an outdoor area that feels exposed and unfinished. Because of that, many homeowners end up somewhere in the middle of the market. For a typical pergola installation over a patio or deck, homeowners spending usually lands around $5,000 to $10,000. That range often covers a standard pergola with professional installation, moderate site preparation, and a material choice like pressure treated pine, cedar, vinyl, or aluminum. Once you move into custom pergolas with upgraded finishes or weather-control features, the higher price tag starts to make sense quickly. Pergola Cost by Size Size is one of the biggest drivers of pergola cost. The larger the structure, the more materials, labor, anchors, and finishing work are required. A pergola over a compact sitting area is simply a different project than one spanning a full outdoor kitchen and dining zone. Here is a general idea of pergola ranges by size: 8x8 pergola: about 64 square foot 10x10 pergola: about 100 square foot 10x12 pergola: about 120 square foot 12x16 pergola: about 192 square foot 16x20 pergola: about 320 square foot At $20 to $60 per square foot, a 10x10 pergola might cost roughly $2,000 to $6,000 before upgrades. A 12x16 structure could run $3,800 to $11,500 or more. If you build a pergola with premium aluminum pergolas, custom finishes, or integrated systems, the per square foot rate rises fast. This is why larger pergolas often feel disproportionately expensive. It is not just extra lumber or aluminum. Bigger spans may require heavier posts, stronger footings, additional labor, and more complex engineering. Pergola Installation Cost by Material The materials you choose affects not only the look of the pergola, but also the upfront cost, maintenance needs, and long-term durability. Some affordable materials look good on day one but demand more upkeep over time. Others come with a higher price tag but offer low maintenance and better performance in humid climates or extreme weather conditions. When comparing material costs, it helps to think beyond the initial invoice. A pergola that needs frequent staining, sealing, or repairs may cost less at first but more over the life of the structure. Pressure treated pine pergolas Pressure treated pine is often the most affordable wood option and one of the most common choices for homeowners trying to save money. It is widely available, structurally solid, and usually the most affordable wood option for a standard pergola. A pressure treated pine pergola may cost around $20 to $40 per square foot installed, depending on design and labor rates. It works well for many backyard projects, but it does require maintenance. In humid climates, wood movement, warping, and surface wear can show up over time if the pergola is not properly sealed and maintained. Cedar and Redwood Pergolas Cedar and redwood are popular because they offer a warmer, more natural wood appearance than pressure treated pine. They also have oils that make them naturally resistant to insects and decay. For homeowners who want a wood pergola with more character, these are often strong options. Redwood tends to cost more than cedar, and both are usually priced above pressure treated pine. Expect a cedar or redwood pergola cost to land around $30 to $70 per square foot installed, depending on the finish, post size, and design complexity. A custom wood pergola built from redwood can look stunning, especially when the wood grain is highlighted with stain, but it will still need maintenance to keep that finish looking sharp. Vinyl Pergolas Vinyl and aluminum pergolas appeal to homeowners who want a cleaner look and fewer maintenance headaches. Vinyl can be a solid option for a traditional pergola appearance without the routine sealing and staining of natural wood. Vinyl often falls around $25 to $50 per square foot installed. It is generally low maintenance, but quality matters. Lower-end products can feel a bit hollow or plasticky, especially in intense sun. Better systems are reinforced and weather resistant, but they may still lack the richness of a custom wood pergola. Aluminum Pergolas Aluminum pergolas are increasingly popular, especially in hot-weather markets where durability and low maintenance matter. A well-built aluminum structure is rust resistant, weather resistant, and well suited to humid climates. It also works beautifully for modern homes and contemporary patio designs. Installed aluminum pergolas often start around $40 per square foot and can easily exceed $100 per square foot for motorized or louvered systems. The upfront cost is higher, but many homeowners like the tradeoff: less maintenance, clean lines, and excellent long-term performance. In many cases, aluminum pergolas are the smarter investment for a heavily used outdoor living space. Labor Costs and Installation Pricing Labor costs are a major part of any pergola installation. In many cases, labor accounts for 30% to 50% of the total project cost. A simple pergola kit on a level patio is one thing. A custom structure tied into existing structures, adjusted for slope, or built around outdoor kitchens and lighting plans is another. Labor costs typically include layout, footing work, anchoring, framing, assembly, leveling, trimming, and finish work. Local labor rates also matter. In busy metro areas or regions with strong demand for outdoor upgrades, labor rates can push the estimate higher. Professional installation usually costs more than a DIY route, but it can prevent expensive mistakes. A pergola is not just decorative. It is a structural element exposed to wind, rain, heat, and constant movement in the outdoor environment. If the posts are not anchored properly or the structure is not engineered for the site, the savings disappear quickly. Pergola Kit vs Custom Pergolas A pergola kit can be a good fit for homeowners who want a faster, more standardized solution. A typical pergola kit comes with pre-cut materials, hardware, and assembly instructions. Some are wood, some are vinyl, and some are aluminum. A diy pergola kit can reduce upfront cost, especially if you handle part of the work yourself. But pergola kit pricing is not always apples to apples with custom pergolas. Kits often assume ideal site conditions, standard dimensions, and fewer design changes. Once you add delivery, anchoring, concrete work, staining, or professional installation, the total cost can move closer to a custom job than people expect. Custom pergolas cost more because they are designed around your exact outdoor area. That matters when the patio is oversized, the slab is sloped, the home has unusual rooflines, or you want the pergola design to match existing structures. Custom builds also make room for details like integrated shade systems, lighting, fans, and tailored proportions that make the final result feel intentional rather than off-the-shelf. Site Preparation and Hidden Costs The part homeowners often overlook is site preparation. You may be focused on the pergola itself, but the installation crew has to deal with the actual conditions on the ground. If the patio is uneven, if drainage is poor, or if there is no suitable footing location, the project gets more complicated. Site preparation can include clearing the area, removing old concrete, pouring footings, reinforcing a slab, adjusting for elevation changes, or working around existing structures. These issues add additional labor and additional materials. They also add time. This is one reason pergola installation cost can vary wildly from one house to the next. Two homes may want the same pergola kit, but one goes onto a clean level pad while the other needs demolition, layout changes, and custom anchoring. Same product, very different project. Building Permits and Local Code Requirements Depending on where you live, building permits may be required for pergola installation. This is especially true for larger pergolas, attached systems, motorized units, or structures with electrical wiring. Local building codes may also dictate footing depth, post size, setbacks, wind ratings, and attachment methods. Building permits and code compliance can add additional fees to the total project cost, but they are not optional details to brush aside. In areas with strong wind exposure or intense weather, code requirements exist for a reason. A pergola should look beautiful, but it also needs to behave like a real structure when the weather turns rough. If you plan to build a pergola with lighting, fans, heaters, or motorized shade, local building codes become even more important. Electrical wiring must be installed safely and correctly, and permit requirements may expand once power is involved. Extra Features That Increase Total Cost Base pricing only tells part of the story. The features you add can transform a simple pergola into a true outdoor living space, but they also increase the total cost. Extra features that commonly raise pergola cost include: Motorized shade systems Retractable canopies Louvered roofs Lighting packages Ceiling fans Electrical wiring Privacy walls or screens Upgraded stains and finishes Decorative post wraps Integrated drainage These custom features can make a huge difference in comfort and usability. A pergola with no shade control may look great in photos but feel too hot in a Texas summer. A pergola with integrated shade and airflow control can turn a patio into a usable room for much more of the year. Maintenance and Long-Term Ownership Costs Maintenance matters more than people think. A wood pergola can be beautiful, but it comes with maintenance needs. Depending on the species and finish, you may need to stain, seal, clean, and inspect it regularly. Natural wood has character, but it also moves, ages, and reacts to heat and moisture. That is why many homeowners are drawn to vinyl and aluminum pergolas. These materials are generally low maintenance and easier to keep looking clean. Aluminum in particular is attractive for buyers who want something modern, durable, and rust resistant without committing to regular refinishing. If your goal is long-term value with less upkeep, low maintenance materials may justify the higher upfront cost. If your goal is warmth, texture, and classic wood charm, then a wood pergola may still be the right choice. It depends on how you want the structure to live over time, not just how it looks on install day. Does a Pergola Add Home Value? In many cases, yes. A well-designed pergola can improve home value by making the backyard more functional and visually appealing. It helps define the outdoor space, creates usable shade, and can make a patio feel like an extension of the house rather than an afterthought. That does not mean every pergola delivers the same return. A poorly placed or cheaply built pergola may not do much for home value. But a thoughtfully designed structure that fits the home, improves comfort, and enhances the outdoor living space can absolutely make the property more attractive to future buyers. This is especially true in markets where outdoor entertaining matters. A new pergola over a dining area, lounge zone, or poolside patio can make a strong impression because buyers can instantly picture themselves using it. When Is the Best Time to Build a Pergola? If you want the best scheduling flexibility, the off season is often a smart time to start. Late fall and winter may offer easier scheduling than the spring rush. Some contractors may also have more room to fine-tune the design and timeline before demand spikes. Early spring is another popular window because homeowners want the project finished before summer heat sets in. The catch is that early spring often books up fast. If you wait until everyone else is thinking about shade, you may be looking at several weeks before installation begins. Planning ahead also gives you time to compare materials, evaluate pergola ranges, and decide whether a pergola kit or custom system makes more sense for your backyard. How to Save Money Without Cutting Corners If you want to save money on a pergola project, the goal should not be to strip everything down until the final result disappoints you. The better strategy is to spend where performance matters and simplify where it does not. A few smart ways to save money include choosing a standard pergola size, limiting custom builds, using affordable materials where appropriate, and avoiding unnecessary decorative add-ons. Pressure treated pine remains an affordable wood option for many homeowners. A pergola kit can also reduce cost if your site is simple and your expectations are realistic. You can also save money by planning the full project early. Last-minute changes create additional labor, additional materials, and delays. The cleaner the scope, the smoother the installation. That matters whether you are building pergolas for a compact patio or a large backyard entertaining zone. So, How Much Should You Budget? A realistic budget for pergola installation depends on what kind of structure you want to live with for the next ten or fifteen years. For a simple pergola kit, you may spend a few thousand dollars. For a mid-range custom installation, many homeowners land in the $5,000 to $10,000 range. For premium aluminum pergolas or highly customized systems with shade controls and electrical wiring, the total project cost can move well above that. The best way to think about pergola installation cost is not as a single number but as a spectrum. Materials, labor, size, design complexity, permits, and features all shape the final price. And in a climate where heat and sun can make an outdoor area feel unusable for half the day, the right pergola is not just a decorative add-on. It is a comfort upgrade. If you are comparing options, focus on how the pergola will actually perform in your space. The cheapest route is not always the best value. A well-built pergola that matches your home, handles the weather, and creates real shade can pay you back every time you step outside and actually want to stay there.
May 6, 2026
Planning an outdoor upgrade? Learn how long pergola installation takes, from 1-day modular setups to custom motorized systems. Explore the factors that affect your timeline.
May 4, 2026
Aluminum vs wood pergola comparison covering maintenance, durability and lifespan. Find out which option is best for long term outdoor living.